BDK-FLUTTER: Building Flutter Apps with BDK
# Introduction
bdk-flutter is the Bitcoin Dev kit's Flutter library which enables building bitcoin applications for Android and iOS mobile platforms. Using bdk-flutter is similar to using any other Flutter module. Just do flutter pub add bdk_flutter and you are ready to code! This is the first tutorial on how to use bdk-flutter, more coming soon, make sure to follow (opens new window) to be notified of new ones. There will also be a bdk-flutter focused Livestream on Twitch (opens new window) on the Bitcoin Developers YouTube Channel (opens new window) so make sure to subscribe.
This tutorial will explore bdk-flutter usage and the API it provides. This guide will walk through the development process and code for making a bitcoin application. The bitcoin application we create will be a non-custodial HD Wallet. The application will have the functionality to create a new wallet or restore from a known mnemonic seed phrase. This application will also be able to interact with the bitcoin network to sync UTXOs from new blocks and broadcast transactions.
The tutorial will focus on bitcoin concepts and bdk-flutter API. So it will gloss over Flutter and Dart. If you are interested in learning more about Flutter and Dart please refer to the Flutter learning portal (opens new window). The code for this tutorial is available on the LtbLightning GitHub (opens new window)

# Prerequisites
To use bdk-flutter in a Flutter App, a Flutter development environment is required. Please refer to resources out there on the internet if you need to set this up, here is one of many good resources to guide you on environment setup (opens new window)
# Bitcoin Basics
The bitcoin concepts used in this blog post are detailed and explained very well in external bitcoin resources. Here are some links for reference:
Mastering Bitcoin(HD Wallet chapter) (opens new window)
Bitcoin Output Descriptors from bitcoin GitHub (opens new window)
Now let's jump into Bitcoin Dev Kit
# Bitcoin Dev Kit and bdk-flutter
bdk-flutter is Bitcoin Dev kit's Flutter library for building Bitcoin apps in Flutter.
It encapsulates all of the low-level APIs and methods for BDK and exposes them in a Flutter context. To use BDK in Flutter apps only the bdk-flutter module is required. bdk-flutter can be used like any other Flutter library and is available on pub.dev (opens new window)
# Getting Started
Although we won't delve deep into Flutter we will focus more on bitcoin and bdk-flutter, however, some rudimentary Flutter setup is required, especially a basic Flutter app to add our code.
start by creating a new Flutter project.
flutter create bdk-flutter-quickstart
Once done let's cd into the new project directory and run the basic Flutter app that's created
cd bdk-flutter-quickstart
flutter run
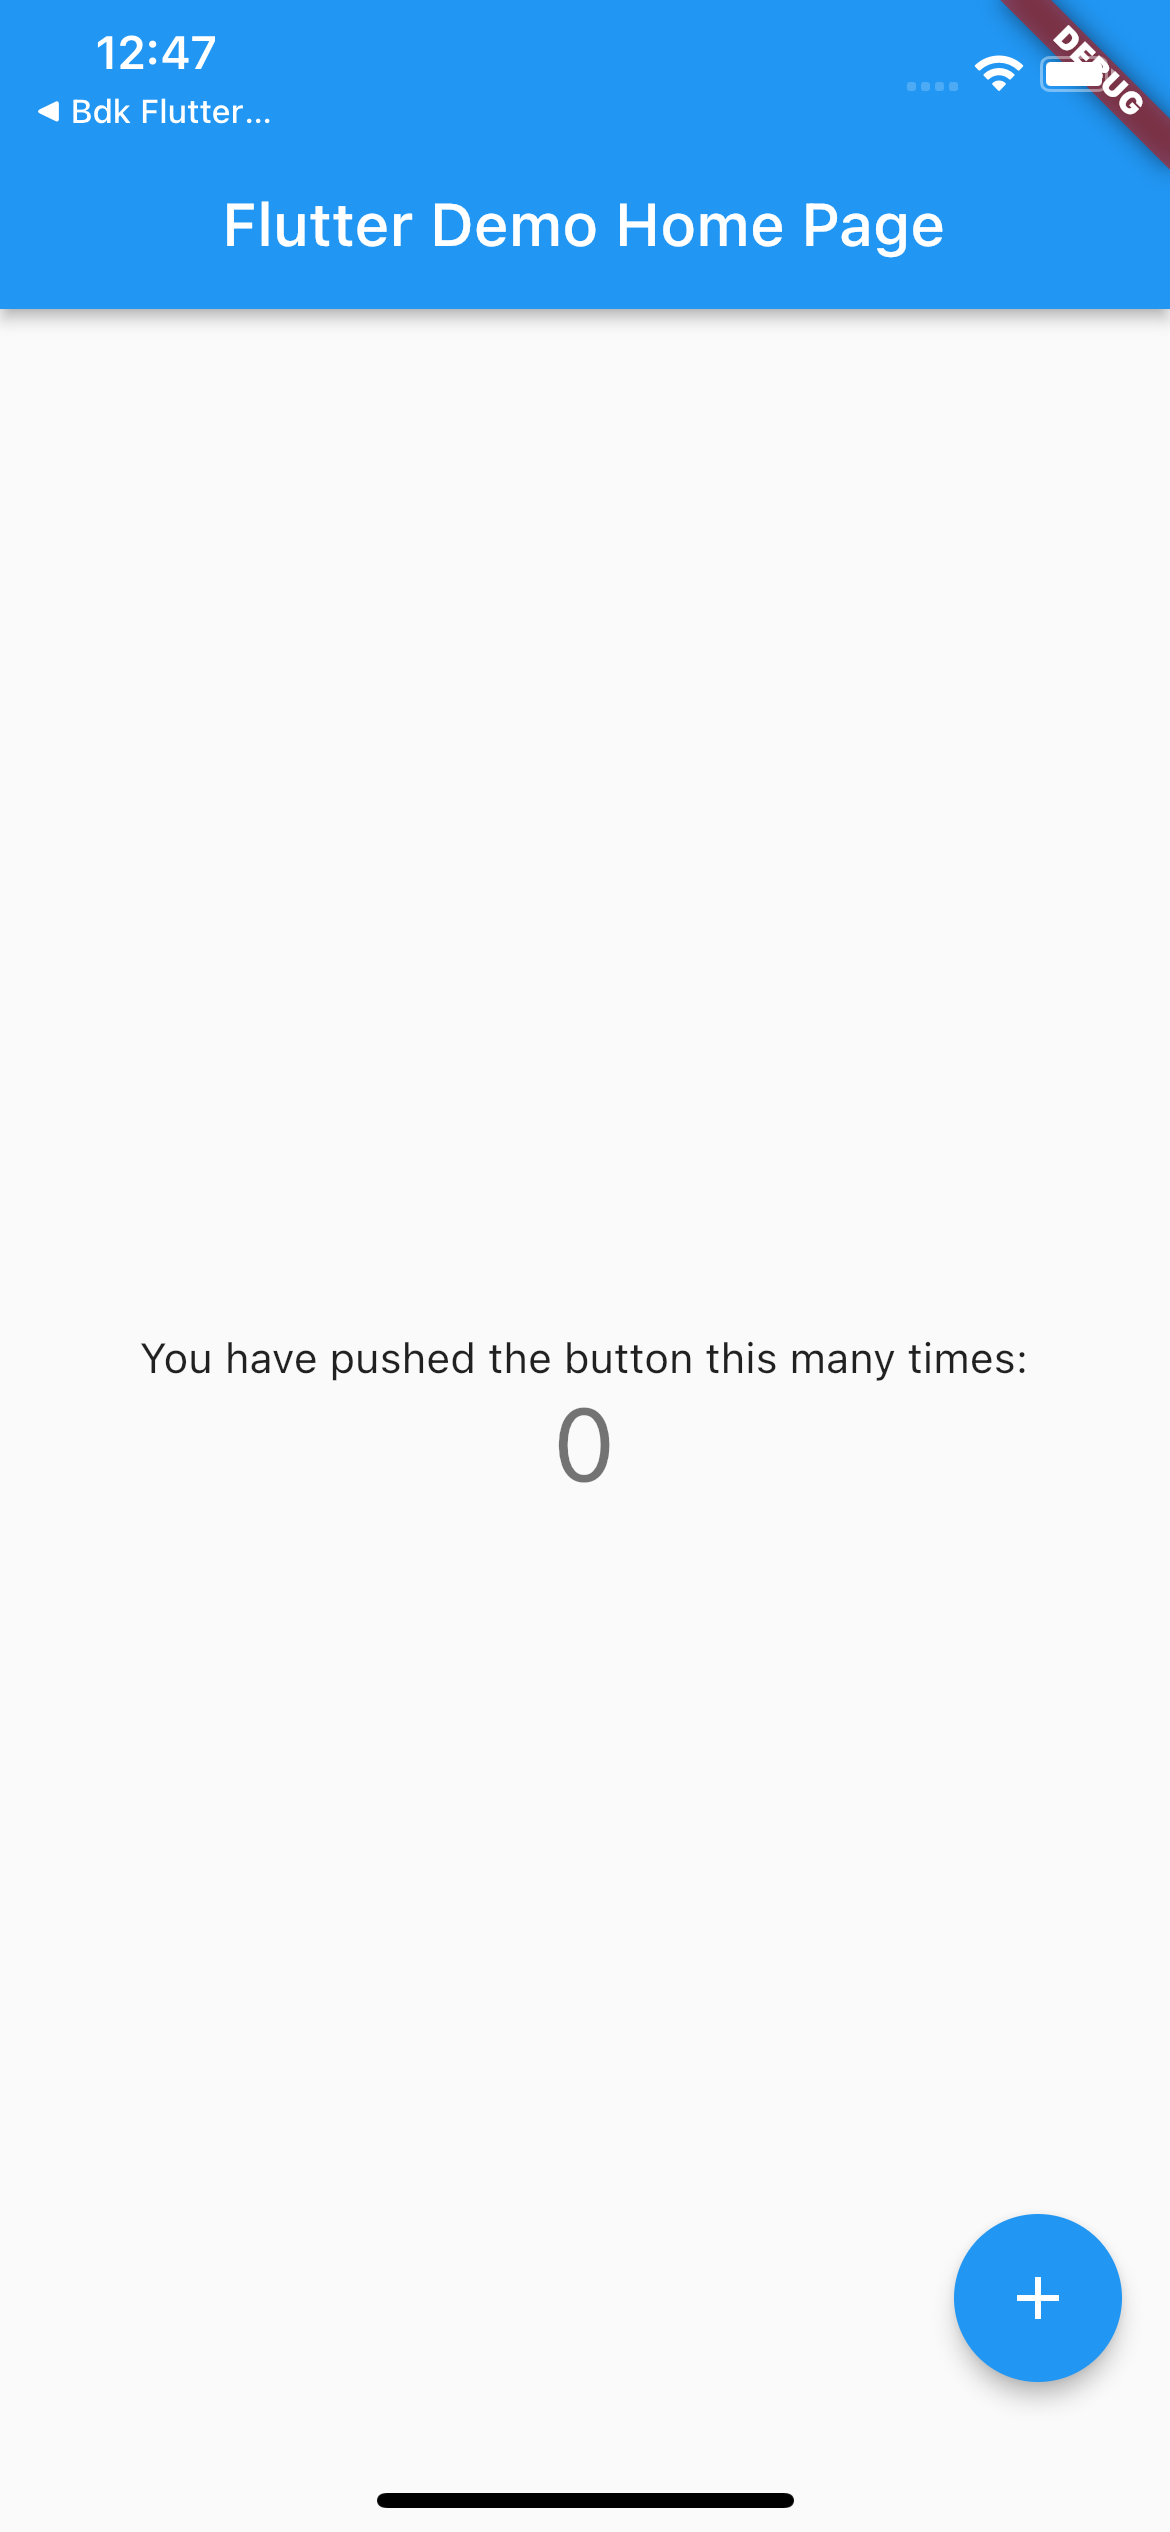
This should start building the app and then launch the app in a simulator. So far we have created a basic Flutter project if this doesn't work then refer to the Flutter development setup guide to troubleshoot.
# Setting up Flutter app structure
Let's set up a very basic app structure. Let's create an assets folder in the project root and then add new folders widgets, screens, and styles inside the existing lib folder.
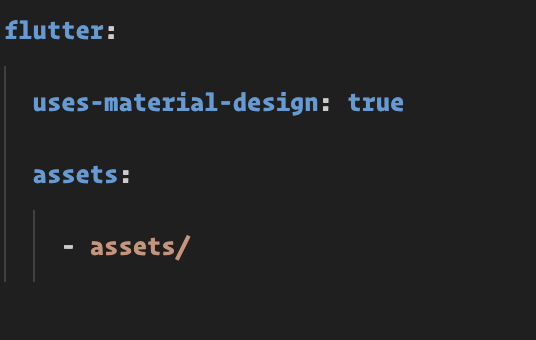
Paste the following code in your pubspec.yaml file, assets section.
- assets/
Please make sure your assets section looks like the screenshot below.
Once done let's run a get command from the pub tool commands, this will get all the required dependencies for our project.
flutter pub get
To make this quick you can download the theme, styled widgets and images used in the tutorial from the repository. The theme.dart file has the theme we will use and this can be taken from here (opens new window) and moved to the styles folder. The widgets.dart file has the styled widgets we will use and these can be taken from here (opens new window) and moved to the widgets folder. The image assets can be taken from here (opens new window) Alternatively, you can write your theme, widgets and use your images if you intend to style the app differently.
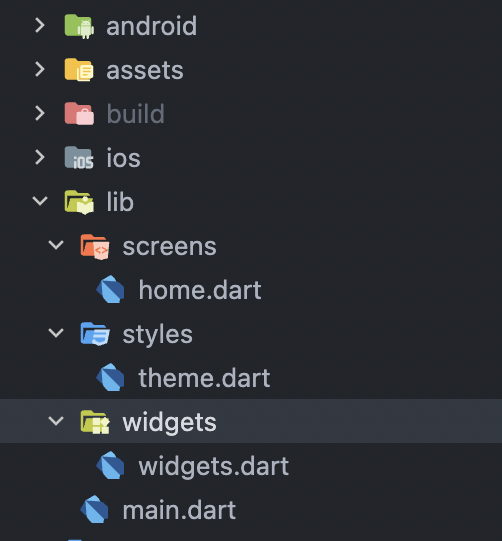
In addition to the the theme, widgets and assets. We also need to create a screens folder and create a home.dart file inside it, this will be where most of the code will be added.
Once done the file structure should look like this:
Locate main.dart in the project root, this will have the default code added by flutter create, let's delete all contents of main.dart and replace it with the following code to use home.dart as our main screen. This will probably crash the app but that's fine, it will be up and running once we add code to home.dart in the next few steps
// main.dart
import 'package:bdk_flutter_quickstart/screens/home.dart';
import 'package:bdk_flutter_quickstart/styles/theme.dart';
import 'package:flutter/material.dart';
void main() {
runApp(const MyApp());
}
class MyApp extends StatelessWidget {
const MyApp({Key? key}) : super(key: key);
// This widget is the root of your application.
Widget build(BuildContext context) {
return MaterialApp(
debugShowCheckedModeBanner: false,
title: 'BDK-FLUTTER TUTORIAL',
theme: theme(),
home: const Home(),
);
}
}
# Installing bdk-flutter
With the Flutter project in place, we can now add bdk-flutter using flutter pub add.
flutter pub add bdk_flutter
This will add a line like this to your package's pubspec.yaml and this will also run an implicit flutter pub get to download bdk-flutter from pub.dev:
dependencies:
  bdk_flutter: ^0.28.2
# Configuring
Make sure your app meets the following requirements for using bdk-flutter
Android
MinSdkVersion : API 23 or higher.
IOS
Deployment target: iOS 12.0 or greater.
Locate your Podfile in the ios folder of your project and paste the following code at the beginning
platform :ios, '12.0'
After changing the deployment target in your project's PodFile, let's use the following command to install pod dependencies for iOS.
cd ios && pod install && cd ..
Once done, bdk-flutter is installed and configured and ready to be used in our bdk-flutter-quickstart App.
# Importing bdk-flutter
Locate home.dart which we added in the setup section and import bdk-flutter at the top of the file. Create a stateful widget called Home
// screens/home.dart
import 'package:bdk_flutter/bdk_flutter.dart';
class Home extends StatefulWidget {
const Home({Key? key}) : super(key: key);
State<Home> createState() => _HomeState();
}
class _HomeState extends State<Home> {
TextEditingController mnemonic = TextEditingController();
Widget build(BuildContext context) {
return Container();
}
}
Before we start using bdk-flutter let's add some additional imports and also import styles, to create a basic layout to build our home screen
// screens/home.dart
import 'package:bdk_flutter/bdk_flutter.dart';
import 'package:bdk_flutter_quickstart/widgets/widgets.dart';
import 'package:flutter/cupertino.dart';
import 'package:flutter/material.dart';
class Home extends StatefulWidget {
const Home({Key? key}) : super(key: key);
State<Home> createState() => _HomeState();
}
class _HomeState extends State<Home> {
Widget build(BuildContext context) {
return Scaffold(
resizeToAvoidBottomInset: true,
backgroundColor: Colors.white,
/* AppBar */
appBar: buildAppBar(context),
body: SingleChildScrollView(
child: Container(
padding: const EdgeInsets.symmetric(horizontal: 30),
child: Column(
children: const [
/* Balance */
/* Create Wallet */
/* Send Transaction */
],
),
),
));
}
}
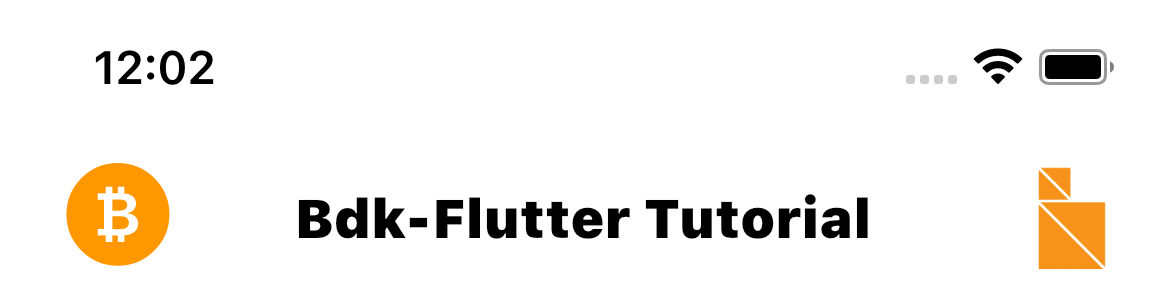
We now have an app title section and a structure to hold the rest of our app components.
# Calling bdk-flutter methods
To call all methods properly from the bdk-flutter package, first, we need to create state variables to store Wallet and Blockchain objects.
Here we use the late keyword to declare both Wallet and Blockchain. These are non-nullable variables that are initialized after the declaration.
import 'package:bdk_flutter/bdk_flutter.dart';

late Wallet wallet;
late Blockchain blockchain;
The first step in creating a non-custodial bitcoin app is creating a mnemonic seed phrase for the wallet.
bdk-flutter provides a Mnemonic class to create a Mnemonic. The create method is a named constructor and can be used to create a mnemonic, it takes WordCount as its required parameter.
var res = await Mnemonic.create(WordCount.Words12);
We can generate a mnemonic of longer length by passing in a wordCount argument of required length.
To create a mnemonic with a WordCount of 18 words, we can use (WordCount.Words18)
Refer to the API docs on pub.dev (opens new window) for more details.
  var res = await Mnemonic.create(WordCount.Words18);
// here response is saved as a 'Mnemonic' object
In order to use this in our Flutter app, we want a button that will generate a mnemonic when clicked, and a text input box to show the generated mnemonic. Let's first create a TextEditingController for the mnemonic textfield to store the mnemonic, and an internal generateMnemonicHandler method which can be called on button click. We will also need a button that will call the internal generateMnemonicHandler method when clicked. Adding the following code achieves all of this.
class Home extends StatefulWidget {
const Home({Key? key}) : super(key: key);
State<Home> createState() => _HomeState();
}
class _HomeState extends State<Home> {
late Wallet wallet;
late Blockchain blockchain;
TextEditingController mnemonic = TextEditingController();
Future<void> generateMnemonicHandler() async {
var res = await Mnemonic.create(WordCount.Words12);
setState(() {
mnemonic.text = res.asString();
});
}
Widget build(BuildContext context) {
return Scaffold(
resizeToAvoidBottomInset: true,
backgroundColor: Colors.white,
/* Header */
appBar: buildAppBar(context),
body: SingleChildScrollView(
child: Container(
padding: const EdgeInsets.symmetric(horizontal: 30),
child: Column(
children: [
/* Balance */
/* Result */
/* Create Wallet */
StyledContainer(
child: Column(
mainAxisAlignment: MainAxisAlignment.start,
crossAxisAlignment: CrossAxisAlignment.center,
children: [
SubmitButton(
text: "Generate Mnemonic",
callback: () async {
await generateMnemonicHandler();
}
),
TextFieldContainer(
child: TextFormField(
controller: mnemonic,
style: Theme.of(context).textTheme.bodyText1,
keyboardType: TextInputType.multiline,
maxLines: 5,
decoration: const InputDecoration(
hintText: "Enter your mnemonic")),
),
]
)
),
/* Send Transaction Buttons */
],
),
),
));
}
}
Now we need to add a component to display the output of our method calls and this will also need a displayText variable to track our method call response. To achieve this add the following code.
// screens/home.dart

// add this as another state variable under mnemonic
String? displayText;

// modify the generateMnemonicHandler method to also set mnemonic as displayText

 Future<void> generateMnemonicHandler() async {
    var res = await Mnemonic.create(WordCount.Words12);
    setState(() {
      mnemonic.text = res.asString();
      displayText = res.asString();
    });
  }
and finally, let's add the component to display the output under /* Result */
// screens/home.dart

  /* Result */
  // display the component only if displayText has a value
   ResponseContainer(text:displayText ?? "No Response"),
We should now have a working "Generate Mnemonic" button that displays the new mnemonic
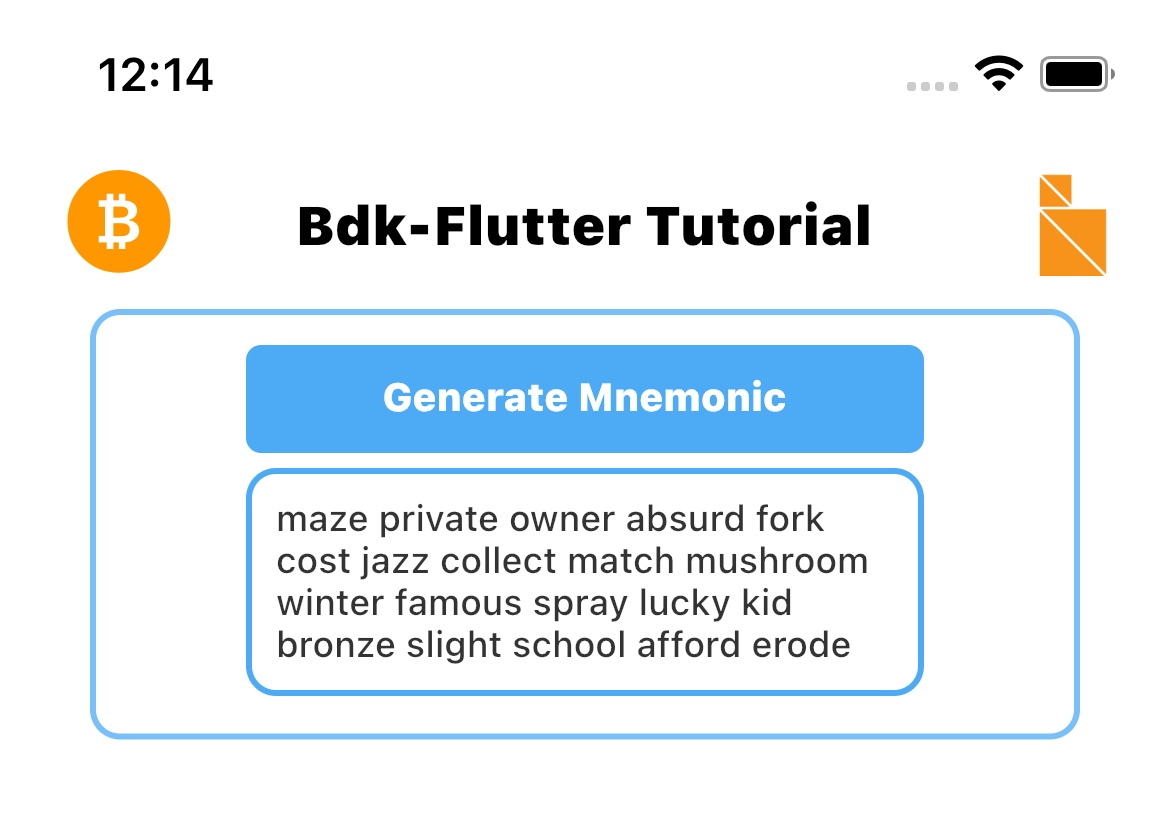
A quick recap, we added a button to call a click handler (generateMnemonicHandler) which calls generateMnemonic API of bdk-flutter. The click handler also sets the state for the app and also updates the displayText variable to display the output of the call in the display section. We will follow this pattern for the remaining calls to bdk-flutter.
# Creating a wallet
Before moving on to creating a wallet, let's add a section at the top to display the balance of the wallet.
To display the balance we will need a state variable to store the balance and a display component to display it. We will also be creating a receive address for the wallet so a state variable will be required for the address as well.
Under the mnemonic and displayText state variables, let's add one for balance and one for address
class _HomeState extends State<Home> {
  TextEditingController mnemonic = TextEditingController();
  String? displayText;
  String? balance;
  String? address;
Just below /* Balance */ and above /* Result */ add the following UI components to display the balance. We only want to show the balance when it has a value so we will use a null-aware operator ?? for a quick null check and use 0 in case of a null value.
         /* Balance */
         BalanceContainer(
                  text: "${balance ?? "0"} Sats",
                ),
        /* Result */
bdk_flutter creates a wallet using output descriptors which define the derivation path to derive addresses and sign transactions. More about output descriptors here (opens new window). Before creating the Wallet we need to create a descriptor object which will be used to generate receive addresses and a changeDescriptor object to to create change addresses to collect from outgoing transactions.
bdk_flutter's Descriptor class has a number of descriptor templates that will help you create a simple wallet.
Let's add some code to create a simple wpkh descriptor object by using the BIP84 template. This template will create a descriptor in the format wpkh(key/84'/{0,1}'/0'/{0,1}/*)
This descriptor will create receive (KeyChainKind.External) and change descriptor (KeyChainKind.Internal) for a specified mnemonic.
Future<List<Descriptor>> getDescriptors(String mnemonic) async {
    final descriptors = <Descriptor>[];
    try {
      for (var e in [KeychainKind.External, KeychainKind.Internal]) {
        final mnemonicObj = await Mnemonic.fromString(mnemonic);
        final descriptorSecretKey = await DescriptorSecretKey.create(
          network: Network.Testnet,
          mnemonic: mnemonicObj,
        );
        final descriptor = await Descriptor.newBip84(
            secretKey: descriptorSecretKey,
            network: Network.Testnet,
            keychain: e,
        );
        descriptors.add(descriptor);
      }
      return descriptors;
    } on Exception catch (e) {
      setState(() {
        displayText = "Error : ${e.toString()}";
      });
      rethrow;
    }
  }
Under the address state variable, let's add a state variable called wallet of the type Wallet for saving the bitcoin wallet.
To create a wallet with bdk-flutter call the create constructor with descriptor, changeDescriptor network, and the databaseConfig. For database, we can use memory as the database by specifying DatabaseConfig.memory()
Following our pattern of a button, click handler and bdk-flutter API call, Let's add an internal method which will serve as the click handler for the "Create Wallet" button. We want to see the output of this call so let's use setState() to set the wallet object created and the displayText variable with the wallet's first receive address.
  Future<void> createOrRestoreWallet(
      String mnemonic, Network network, String? password) async {
    try {
      final descriptors = await getDescriptors(mnemonic);
      final res = await Wallet.create(
          descriptor: descriptors[0],
          changeDescriptor: descriptors[1],
          network: network,
          databaseConfig: const DatabaseConfig.memory());
      var addressInfo = await res.getAddress(addressIndex: const AddressIndex());
      setState(() {
        address = addressInfo.address;
        wallet = res;
        displayText = "Wallet Created: $address";
      });
    } on Exception catch (e) {
      setState(() {
        displayText = "Error: ${e.toString()}";
      });
    }
  }
A new button will be required to call createOrRestoreWallet()
Let's add a new button just below the mnemonic TextFieldContainer
SubmitButton(
            text: "Create Wallet",
            callback: () async {
              await createOrRestoreWallet(
                mnemonic.text,
                Network.Testnet,
               "password",
              );
          },
        ),
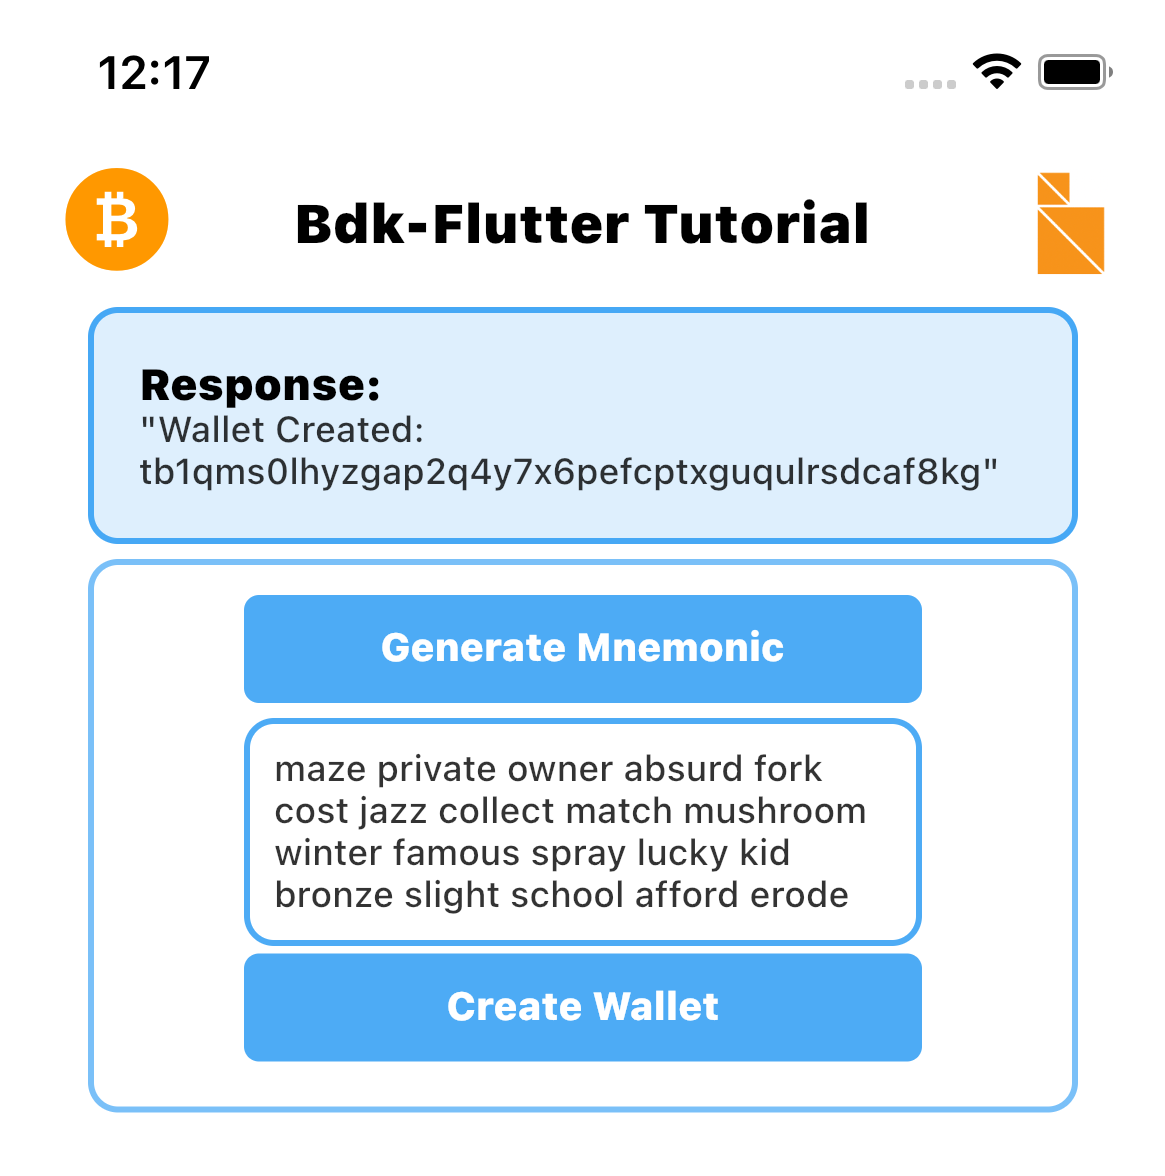
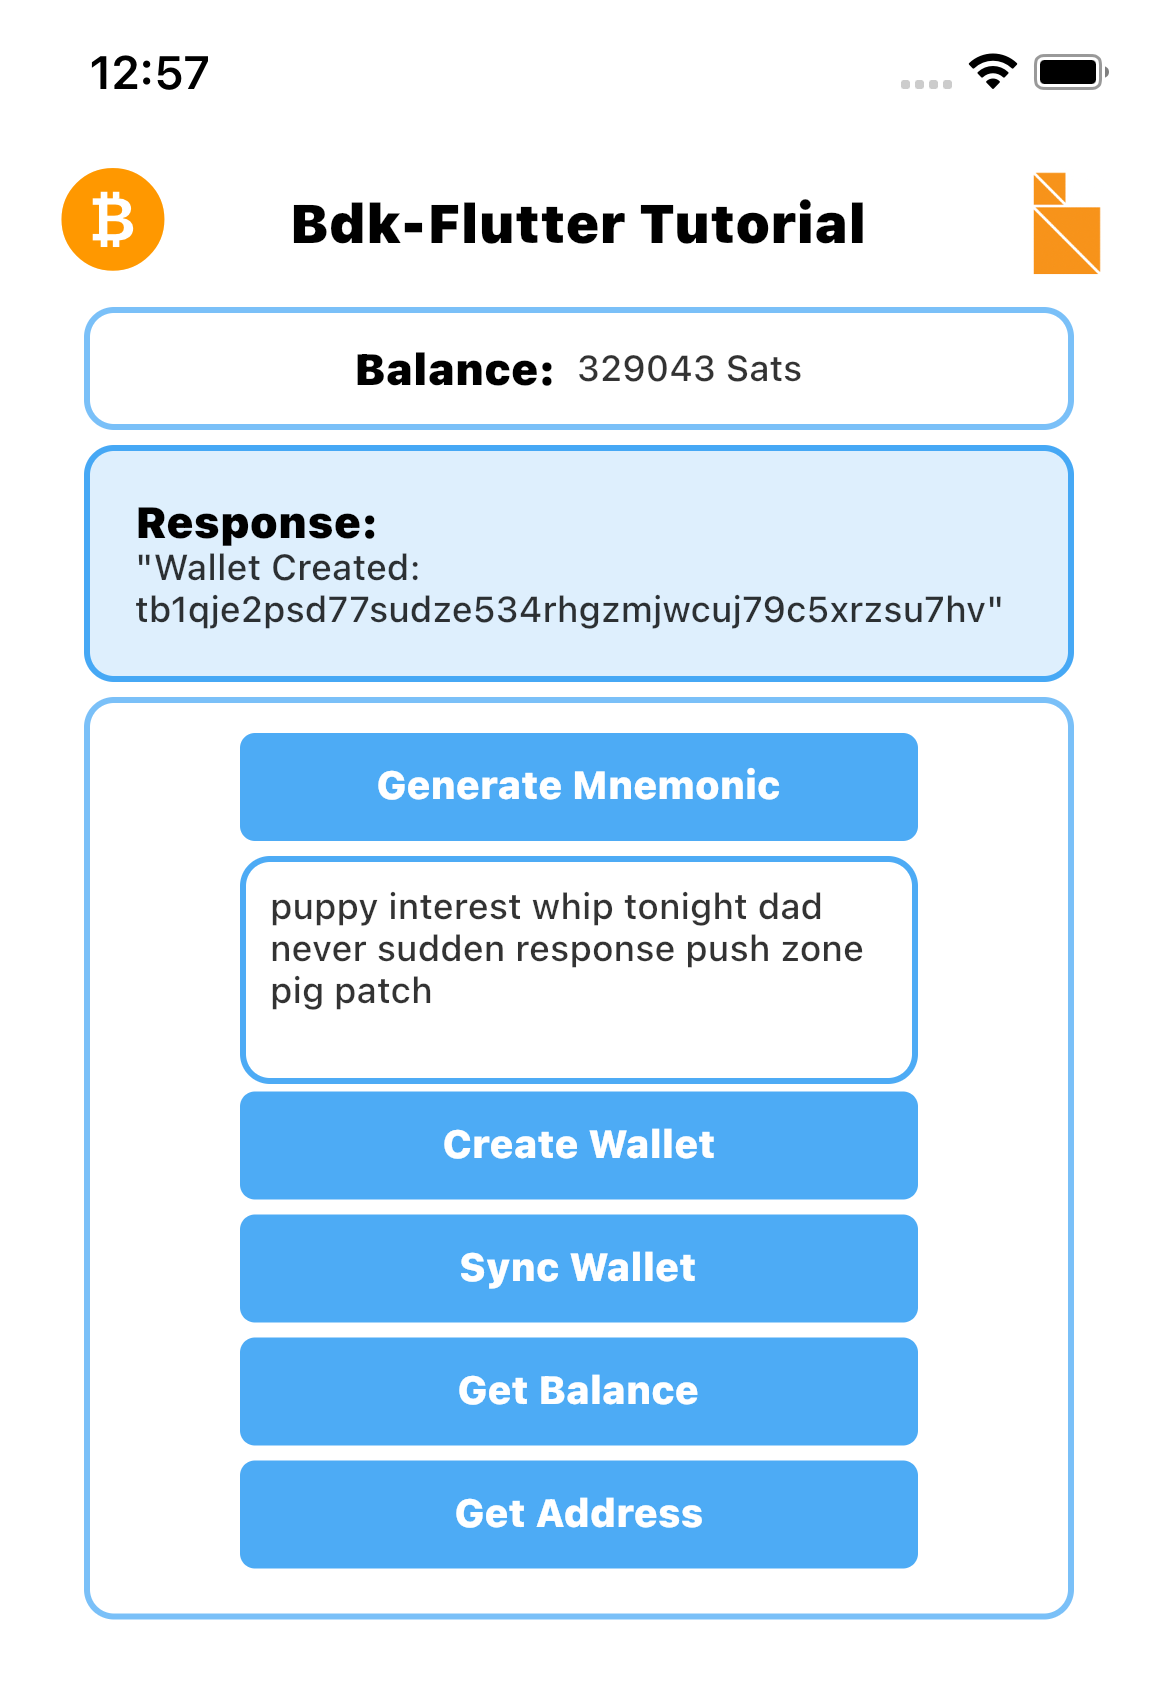
The response returned by create() is a Wallet object.
The App should now be creating a wallet when we click Create Mnemonic followed by Create Wallet.
Before going forward, we need to create a Blockchain object as well. The Blockchain object will encapsulate the bitcoin node configuration which the wallet will use for syncing blocks and broadcasting transactions.
Let's add an internal method to create and initialize the Blockchain object.
  Future<void> blockchainInit() async {
    blockchain = await Blockchain.create(
        config: BlockchainConfig.electrum(
            config: ElectrumConfig(
                  stopGap: 10,
                  timeout: 5,
                  retry: 5,
                  url: "ssl://electrum.blockstream.info:60002",
                  validateDomain: false)));
  }
Here we are initializing the late non-nullable blockchain variable, by calling the named constructor create, which takes a BlockchainConfig object.
The bitcoin node specified is an Electrum node and we are specifying the url for Blockstream's public Electrum Testnet servers over SSL.
After creating the blockchainInit() method, call it from createOrRestoreWallet(), so the blockchain variable gets initialized before the wallet is created.
Include the following line of code inside createOrRestoreWallet() just before calling Wallet.create().
....
  await blockchainInit();
  final res = await Wallet.create(
 .....
blockChainConfig: BlockchainConfig is an enum that has 3 values, BlockchainConfig.electrum for electrum (opens new window) ,BlockchainConfig.esplora for esplora (opens new window) and BlockchainConfig.rpc .
BlockchainConfig.electrum, BlockchainConfig.rpc & BlockchainConfig.esplora has ElectrumConfig object, RpcConfig object and EsploraConfig object, respectively as its parameter.
ElectrumConfig: This is the object type of BlockchainConfig.electrum's config that takes a timeout, retry & url as its required parameter.
EsploraConfig: This is the object type of BlockchainConfig.esplora's config that takes baseUrl & stopGap as its required parameter.
RpcConfig: This is the object type of BlockchainConfig.rpc's config that takes url, network, & walletName as its required parameter. If Rpc Blockchain has its authentication values inside a cookie file, please pass in cookie path as authCookie parameter, or you can pass in rpc username and password using UserPass class.
Refer to the readme for a complete list of options for createWallet() (opens new window)
# UTXOs and balance
With the Wallet and Blockchain created, we can now add methods to sync UTXOs and compute balance.
Wallet has a sync method to sync all UTXOs belonging to the wallet using the Blockchain object. Once the wallet sync is complete balance is computed and getBalance can fetch the balance.
Earlier we have already added a variable for balance. Now we will add buttons to call sync and getBalance. Just below the Create Wallet button let's add two buttons as follows:
    SubmitButton( text: "Sync Wallet",
                  callback: () async { await syncWallet(); },
                ),

    SubmitButton( callback: () async { await getBalance(); },
                  text: "Get Balance",
                ),
Let's add two internal functions for syncing UTXOs and compute balance.
   Future<void> getBalance() async {
    final balanceObj = await wallet.getBalance();
    final res = "Total Balance: ${balanceObj.total.toString()}";
    print(res);
    setState(() {
      balance = balanceObj.total.toString();
      displayText = res;
    });
  }

  Future<void> syncWallet() async {
    wallet.sync(blockchain);
  }
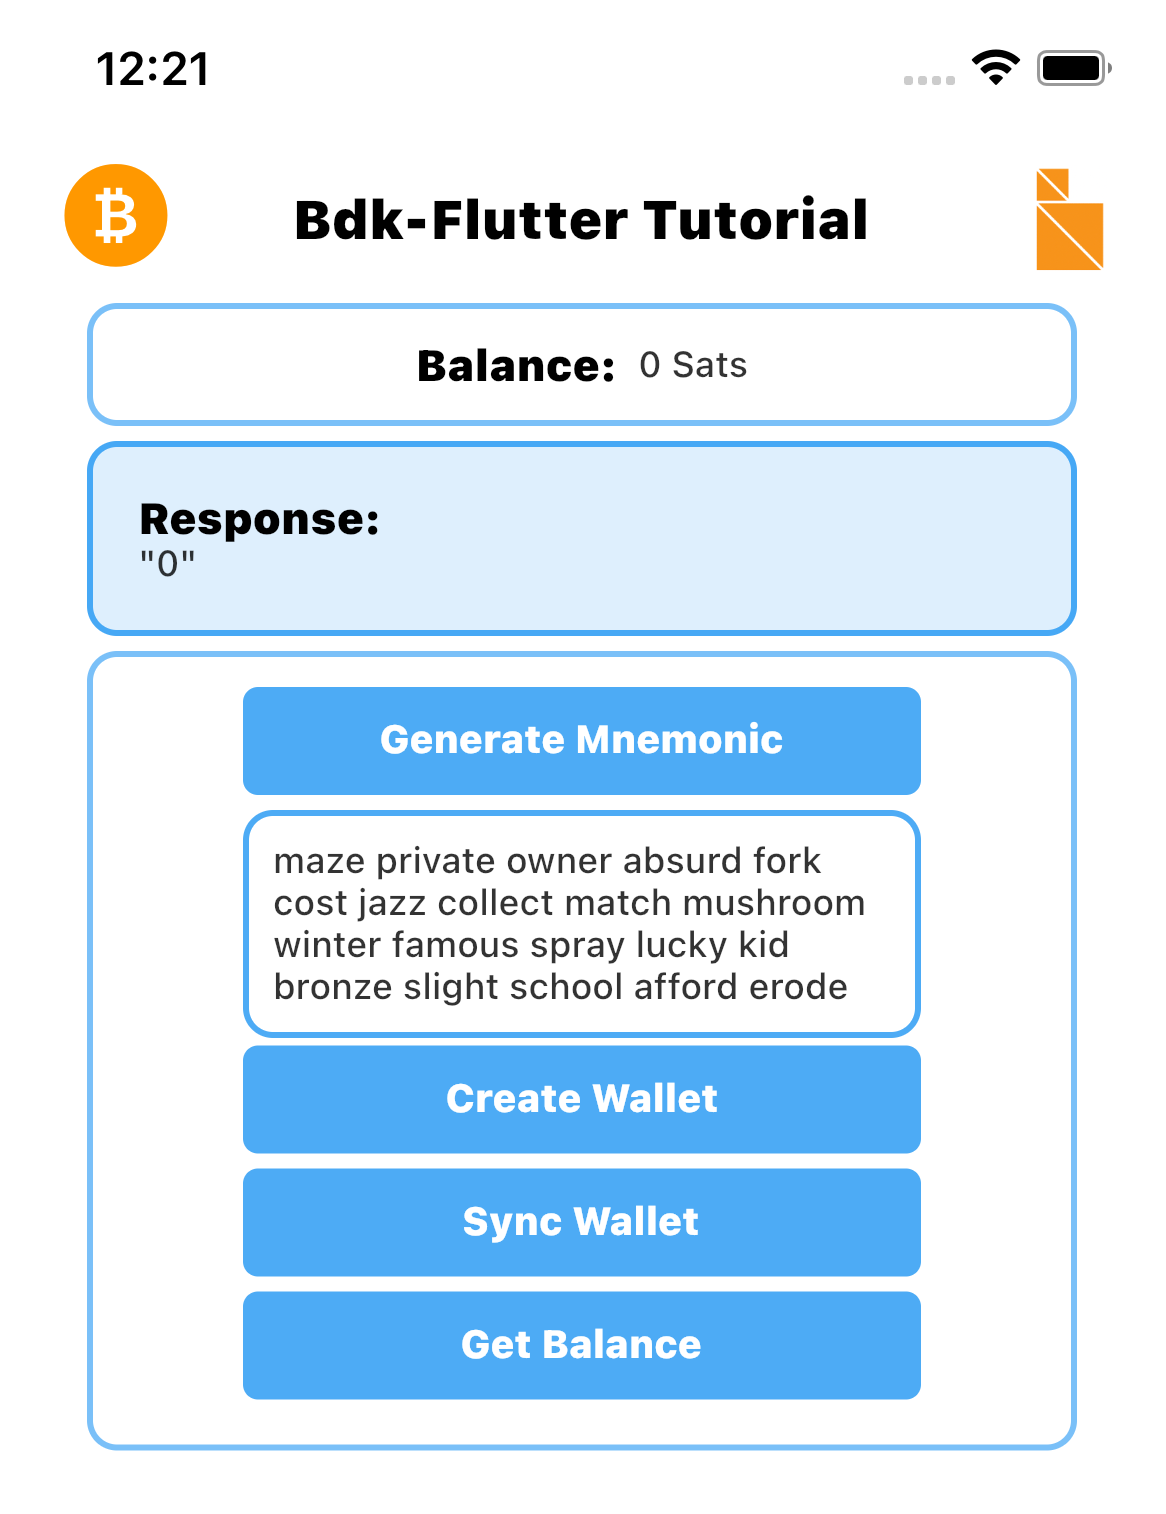
We should now be able to create a wallet, sync UTXOs, and get the balance
We can use a public testnet faucet to send testnet coins to the wallet and check that the UTXO sync and balance fetch are working correctly. Before we do that add one more method to generate a new address we can then use this address to get testnet coins from a faucet.
Let's use the address variable that was created before for this, we need to add a button for Get Address and an internal function to call Wallet and create a new address. Let's do the following
Add a new getNewAddress function below the syncWallet() function:
 Future<void> getNewAddress() async {
    final res = await wallet.getAddress(addressIndex: const AddressIndex());
    setState(() {
      displayText = res.address;
      address = res.address;
    });
  }
And a Get Address button below the existing Get Balance button:
  SubmitButton(
    callback: () async { await getNewAddress(); },
    text: "Get Address"
  ),
We should now have the following, and Get Address will be able to display a new address.
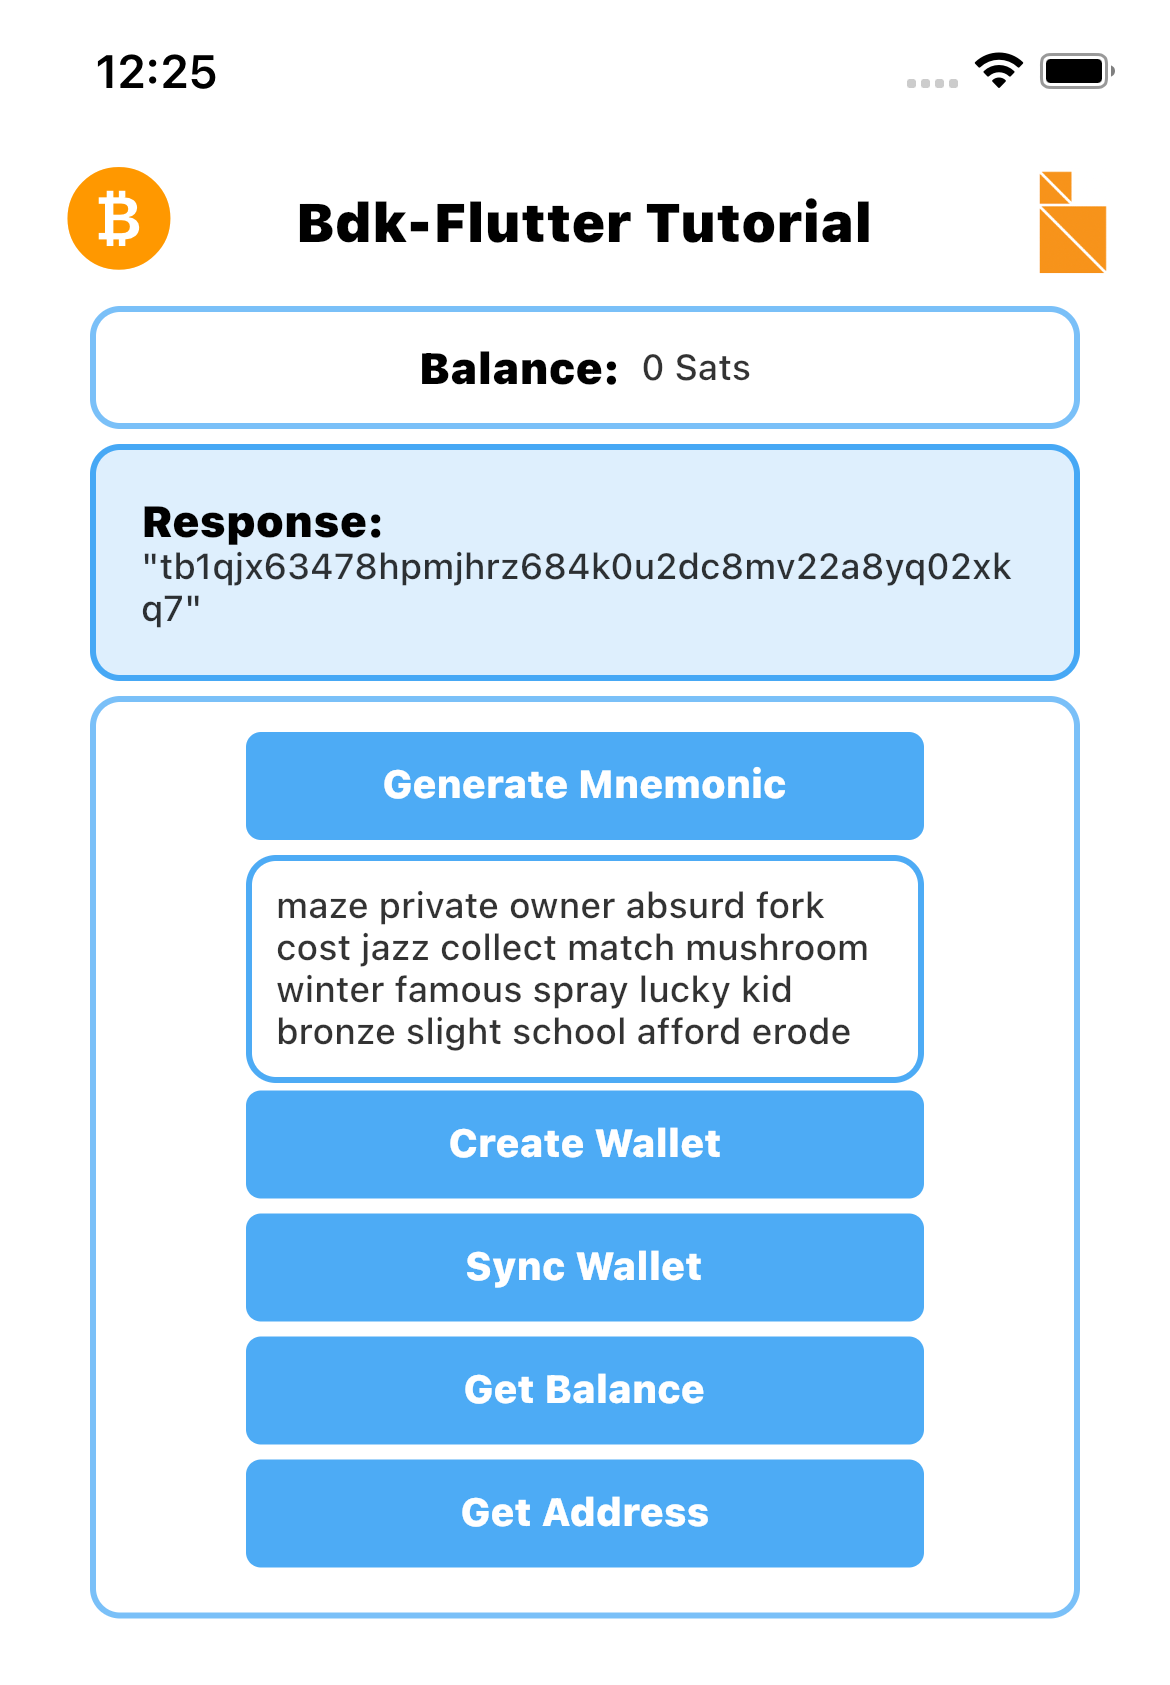
Now that we are able to generate a receive address we can get some testnet bitcoin from one of the public testnet faucets (opens new window)
After we send and after the transaction is confirmed we will need to sync the wallet before we can see the new balance from the received transaction.
# Restoring a wallet
The create method creates a wallet using a mnemonic, to restore we can use the same method, we won't need to call generateMnemonic as we will already have a mnemonic to restore with.
This text field below the Generate Mnemonic button will also display the mnemonic variable if we click Generate Mnemonic' button. The generated mnemonic will show up in the text field. We can overwrite it with our mnemonic and doing so will also overwrite the mnemonic state variable. This way the mnemonic displayed will be the one used to create the wallet.
We can now use our mnemonic and use it to restore a wallet. This will come in handy if we have a wallet with testnet bitcoin as these are hard to come by.
# Sending bitcoin
We are now able to receive bitcoin, now its time to add functionality to send a bitcoin transaction.
For making a successful bitcoin transaction bdk-flutter utilizes a couple of methods. A new unsigned transaction can be created by using TxBuilder](https://github.com/LtbLightning/bdk-flutter#quicksend).
First, we have to initialize the TxBuilder object and call the addRecipient() method.
addRecipient() takes a Script object and the transaction amount.
final res = await txBuilder.addRecipient(script, amount);
We can create theScript object by using the Address class, by specifying the recipient address.
  final address = await Address.create(address: addressStr);
  final script = await address.scriptPubKey();
  final res = await txBuilder.addRecipient(script, amount);
We can create a psbt object by calling the finish() method using the response object from addRecipient() method.
 final txBuilder = TxBuilder();
    final address = await Address.create(address: addressStr);
    final script = await address.scriptPubKey();
    final psbt = await txBuilder
        .addRecipient(script, amount)
        .feeRate(1.0)
        .finish(wallet);
This psbt can be signed later with sign() (opens new window) method from the Wallet and broadcast using broadcast() (opens new window) from the Blockchain .
We will need textfield controllers for the recipient address, amount, and for transaction, these can be added below our existing variable for mnemonic
  TextEditingController recipientAddress = TextEditingController();
  TextEditingController amount = TextEditingController();
Let's make an internal function to send a bitcoin transaction, using Wallet, Blockchain and TxBuilder.
  Future<void> sendTx(String addressStr, int amount) async {
    try {
      final txBuilder = TxBuilder();
      final address = await Address.create(address: addressStr);
      final script = await address.scriptPubKey();
      final txBuilderResult = await txBuilder
          .addRecipient(script, amount)
          .feeRate(1.0)
          .finish(wallet);
      final sbt = await wallet.sign(psbt: txBuilderResult.psbt);
      final tx = await sbt.extractTx();
      await blockchain.broadcast(tx);
      setState(() {
        displayText = "Successfully broadcast $amount Sats to $addressStr";
      });
    } on Exception catch (e) {
      setState(() {
        displayText = "Error: ${e.toString()}";
      });
    }
  }
Add a new section for send transaction functionality. We will need a form, a TextFormField for the receiver address and a TextFormField for the amount to send. We will also need a button to call the sendTx function.
Before submitting the form we need to make sure all the input fields are valid, for that purpose, we need to initialize a GlobalKey (opens new window). This can be added above our Scaffold
final _formKey = GlobalKey<FormState>();
Let's add the send transaction section and UI components below /* Send Transaction */
   StyledContainer(
                  child: Form(
                   key: _formKey,
                   child: Column(
                      mainAxisAlignment: MainAxisAlignment.start,
                      crossAxisAlignment: CrossAxisAlignment.center,
                      children: [
                        TextFieldContainer(
                          child: TextFormField(
                            controller: recipientAddress,
                            validator: (value) {
                              if (value == null || value.isEmpty) {
                                return 'Please enter your address';
                              }
                              return null;
                            },
                            style: Theme.of(context).textTheme.bodyText1,
                            decoration: const InputDecoration(
                              hintText: "Enter Address",
                            ),
                          ),
                        ),
                        TextFieldContainer(
                          child: TextFormField(
                            controller: amount,
                            validator: (value) {
                              if (value == null || value.isEmpty) {
                                return 'Please enter the amount';
                              }
                              return null;
                            },
                            keyboardType: TextInputType.number,
                            style: Theme.of(context).textTheme.bodyText1,
                            decoration: const InputDecoration(
                              hintText: "Enter Amount",
                            ),
                          ),
                        ),
                        SubmitButton(
                          text: "Send Bit",
                          callback: () async {
                            if (_formKey.currentState!.validate()) {
                              await sendTx(recipientAddress.text,
                                  int.parse(amount.text));
                            }
                          },
                        )
                      ]
                    ),
                 )
               )
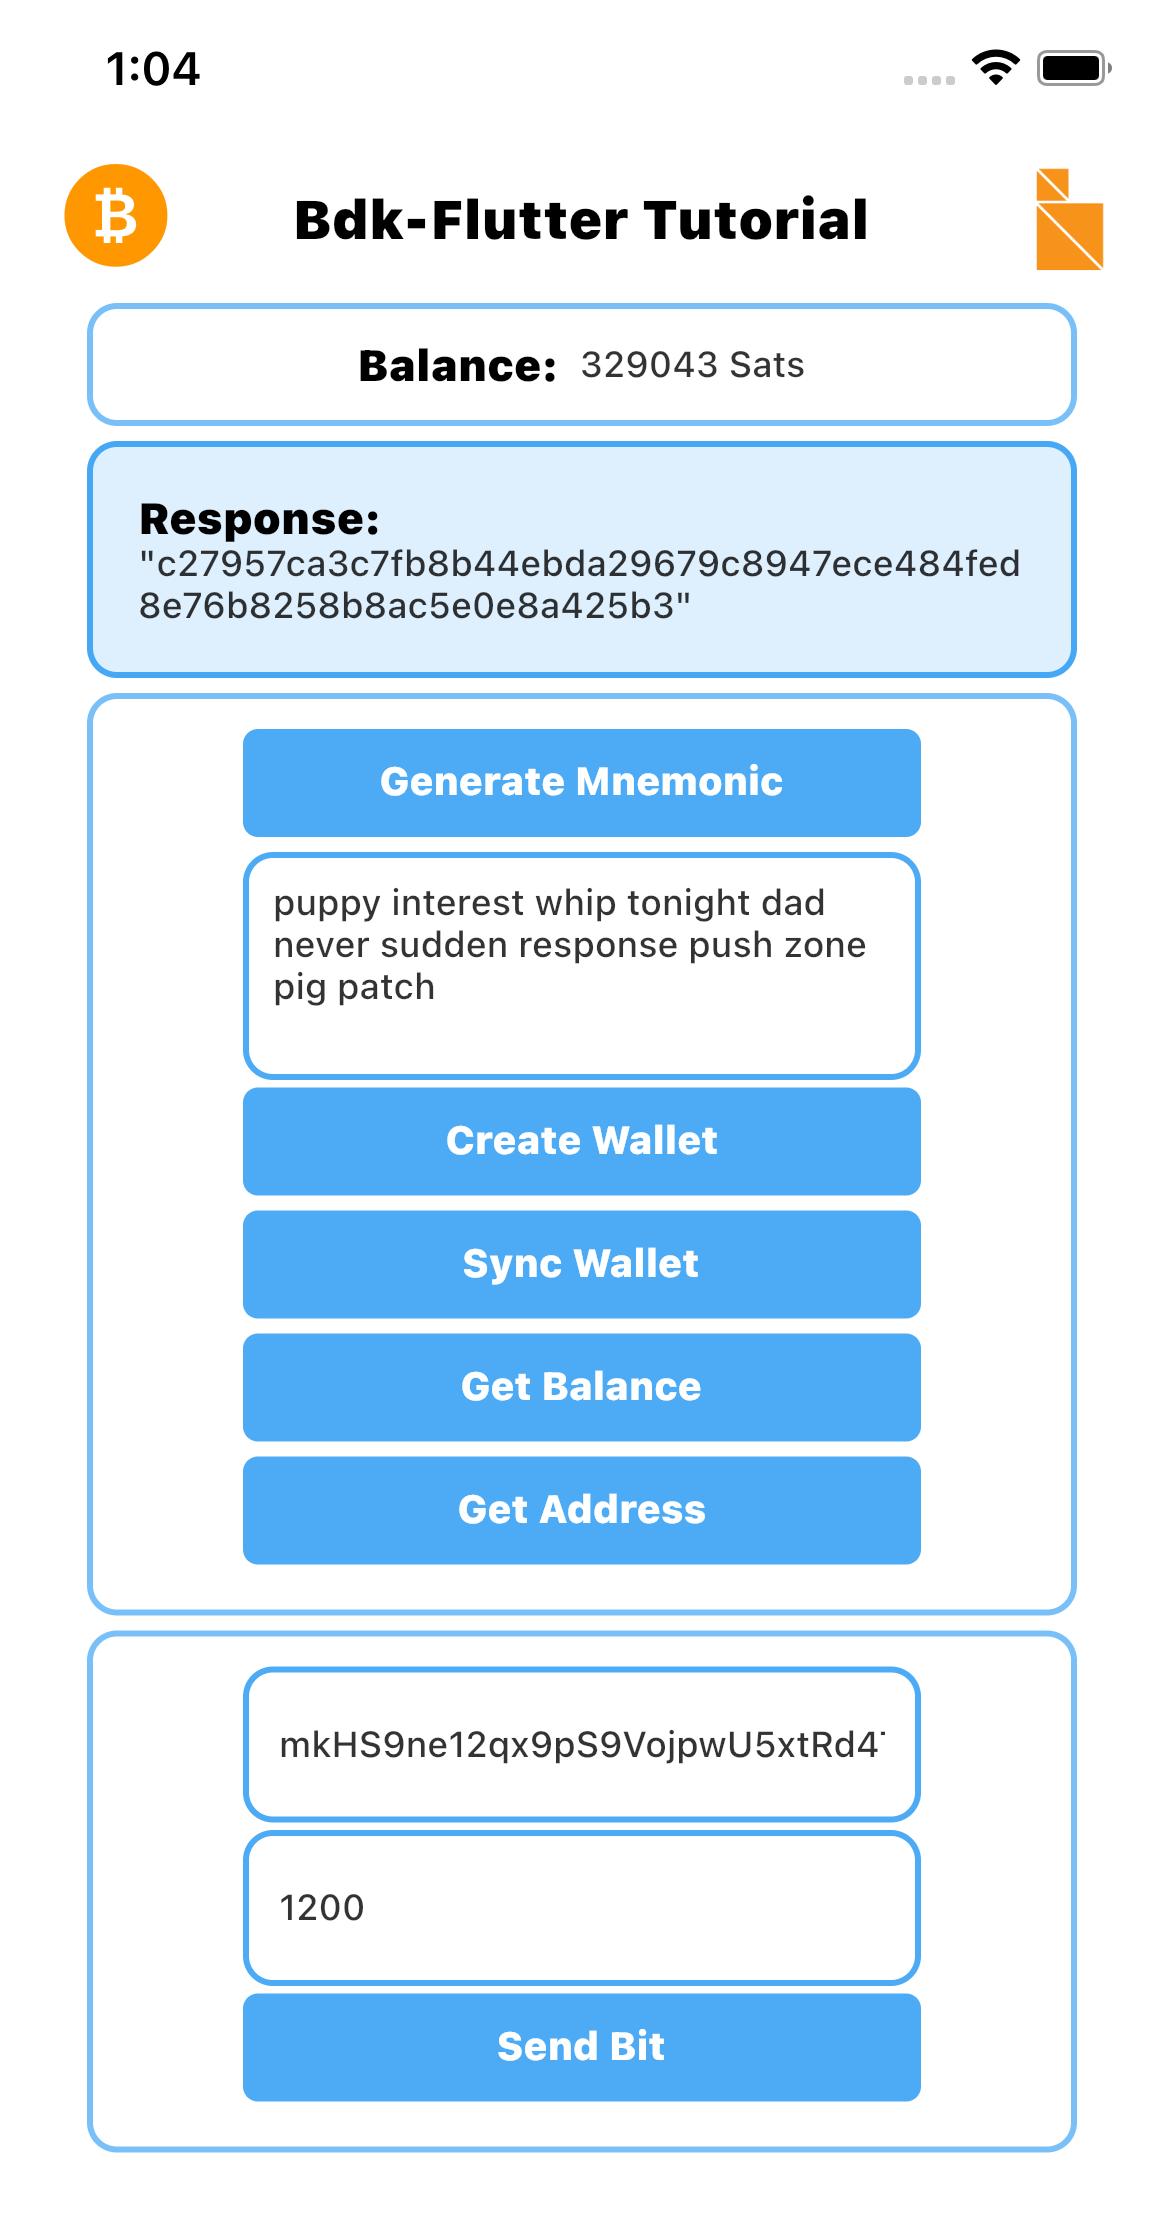
We should now be able to send a transaction as long as there is sufficient balance.
# Conclusion
The App we created can be built and distributed for both iOS and Android thus sharing a code base and reducing development time. The development and coding focused on application-level code for use cases and we did not have to code intricate internal bitcoin protocol-level code or bitcoin node interactions, and transactions. UTXOs and sync-related functionalities were also not required. All this was managed by bdk-flutter allowing us to focus on the product, functionality, and user journey. This is how bdk and bdk-flutter intend to make Rapid Bitcoin Application Development possible by allowing product and application developers to focus on what they know best while bdk handles bitcoin complexity.
bdk-flutter intends to expose functionality and APIs from bdk which has a wide variety of APIs with granular details allowing for many interesting use cases to be implemented. bdk-flutter and bdk are constantly updated and enhanced based on feedback from product teams and developers in the bitcoin community.
Stay tuned for more APIs and enhancements coming to bdk-flutter in the near future. Feature and API requests are most welcome. New blogs and tutorials will be published soon for a more in-depth exploration of bdk-flutter.
In the meantime keep in touch with the project by following us on GitHub (opens new window) and Twitter (opens new window)
# References:
- bdk (opens new window)
- bdk-flutter (opens new window)
- bdk-flutter-quickstart GitHub Repository (opens new window)
- Setup Flutter Development Environment (opens new window)
- Mastering Bitcoin(HD Wallet chapter) (opens new window)
- Bitcoin Output Descriptors from bitcoin GitHub (opens new window)
- Testnet Faucet: https://coinfaucet.eu/en/btc-testnet/ (opens new window) or https://bitcoinfaucet.uo1.net (opens new window)